CertMon
NETWORKING & DNS
How to configure /etc/resolver for .test domains on macOS
Editing /etc/hosts for every new local service gets old quickly, and wildcards (*.test) are not supported by the hosts file. Here is how macOS domain-specific DNS resolvers solve it.
Start in Terminal: Setting up /etc/resolver
macOS has a unique feature: any file in /etc/resolver/<domain> directs DNS queries for that domain to a custom nameserver port.
# 1. Create the resolver directory (requires root once)
sudo mkdir -p /etc/resolver

# 2. Add resolver config pointing *.test to a local DNS responder on port 2053
sudo tee /etc/resolver/test <<EOF
nameserver 127.0.0.1
port 2053
EOF

# 3. Flush macOS DNS cache to activate immediately
sudo dscacheutil -flushcache
sudo killall -HUP mDNSResponder

# 4. Verify resolution with scutil
scutil --dns | grep -A 5 "resolver #.*(domain: test)"
Why /etc/resolver is better than /etc/hosts
- Wildcard support:
/etc/hostsdoes not support wildcards like*.testor*.myapp.test. You must add every subdomain manually. - Zero network disruption: Setting up a local DNS server as your primary Wi-Fi nameserver can break internet connectivity when the local service crashes.
/etc/resolveris scoped only to the specified TLD. - Clean system files: No messy diffs or permission conflicts in your global
/etc/hostsfile.
The native way with CertMon
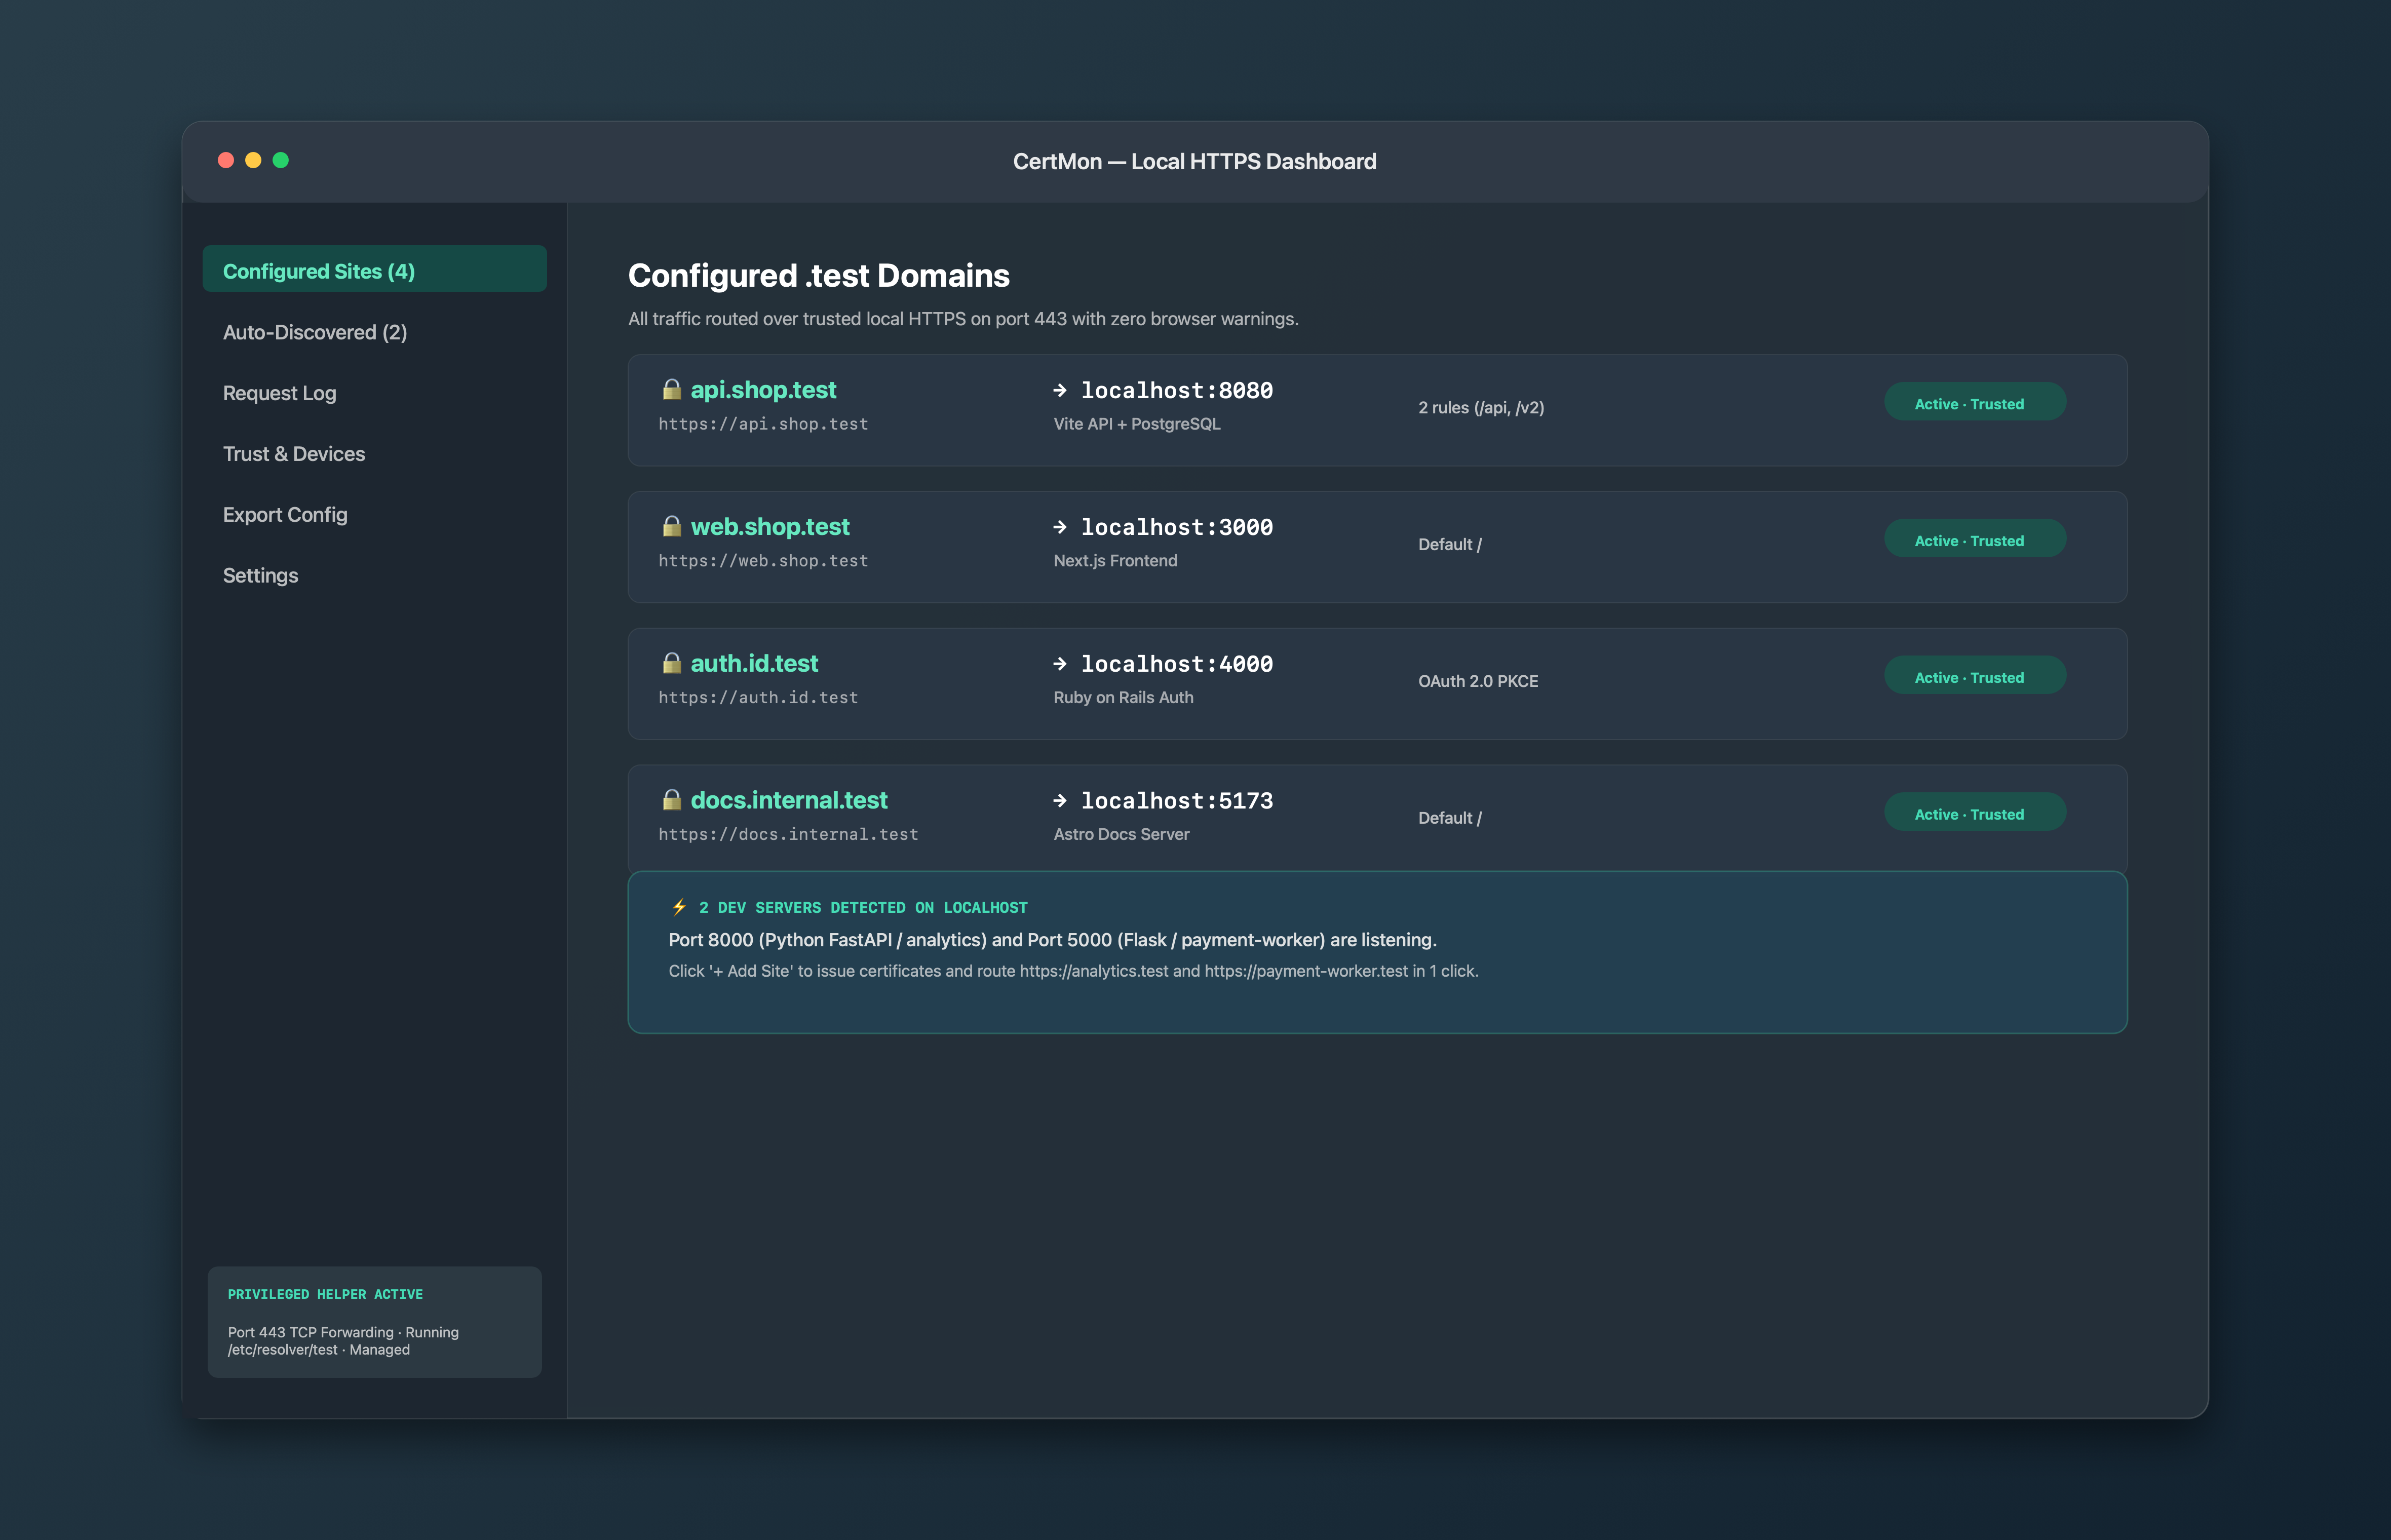
CertMon manages the /etc/resolver/test file through its privileged helper daemon and runs a tiny, non-blocking UDP DNS server on 127.0.0.1:2053 in-process.
Any .test domain you type in your browser instantly resolves to 127.0.0.1 with zero configuration and zero manual terminal edits.